Part 2 - Building Realtime Multiplayer Games with React and Roomservice
In this blog series I am going to create a realtime multiplayer game.
Features 
- 100% HTML and CSS game running in the browser for mobile, tablet and desktop. PART 1
- Realtime Multiplayer and Player vs. Player. PART 2
- Authentication and login for players.
- Lobbies for private and public games with unique shareable codes.
Part 2 
Welcome back, or, welcome.
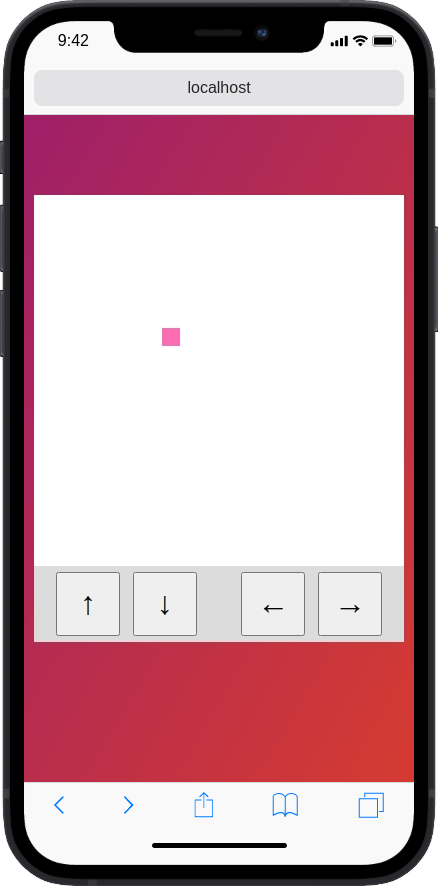
If you did miss part 1 of the game then you can grab the source code for the game from here:
Lets have a refresher anyway:
- We created a board, player, and controls
- Connect the controls to the player
- Tested it on a number of devices to ensure it was responsively designed.

Adding Multiplayer 
To add multiplayer to the game we will use Room Service
- You will need to sign up for Room Service here: https://app.roomservice.dev/register.
- Add an API key that we can set inside our
.env.localfor Next.JS local boot.
The API can be added to the local env like this:
ROOM_SERVICE_API_KEY=<api-key>Now, we need to add Room Service's dependencies to the application.
yarn add
 @roomservice/browser
 @roomservice/node
 @roomservice/react
Setting Up Room Service API 
In Next.JS we can set API routes inside the pages/api folder, so we will do just that to create an authentication endpoint for roomservice.
// ../../roomies/pages/api/roomservice.ts

// Next.js API route support: https://nextjs.org/docs/api-routes/introduction

import { NextApiRequest, NextApiResponse } from "next";

const API_KEY = process.env.ROOM_SERVICE_API_KEY;

// Until we have authentication, that returns a UUID, we will have a pseudo
// random number for users that join the application
function getRandomInt(min, max) {
  min = Math.ceil(min);
  max = Math.floor(max);
  return Math.floor(Math.random() * (max - min + 1)) + min;
}

export default async (req: NextApiRequest, res: NextApiResponse) => {
  const body = req.body;
  const user = "some-user-" + getRandomInt(1, 20000000000);

  // Authenticate with the Roomservice API
  const r = await fetch("https://super.roomservice.dev/provision", {
    method: "post",
    headers: {
      Authorization: `Bearer: ${API_KEY}`,
      "Content-Type": "application/json",
    },
    body: JSON.stringify({
      user: user,
      resources: body.resources,
    }),
  });

  const json = await r.json();
  res.json(json);
};
Now we need to wrap the provider around our application, so that our react application has context that it is connected to the room service API and can update player locations for us.
Setting up the Provider in the _app.tsx is done like so:
// ../../roomies/pages/_app.tsx

import { RoomServiceProvider } from "@roomservice/react";
import Head from "next/head";

import "../styles/globals.css";

function MyApp({ Component, pageProps }) {
  // Wrap the application in the Room Service context provider
  // and declare the auth route to be the route we wrote above.
  const params = { auth: "/api/roomservice" };

  return (
    <RoomServiceProvider clientParameters={...params}>
      <Head>
        <title>ROOMIES!!!</title>
        <meta name="viewport" content="initial-scale=1.0, width=device-width" />
      </Head>
      <Component {...pageProps} />
    </RoomServiceProvider>
  );
}

export default MyApp;
Adding Player Movement Tracking to the Game 
Room service has a service known as presence, designed to track transient positions. What Room Services does is, set up a websocket on your device. It then keeps track on an Array of objects. You can specify the shape of these objects to fit your needs. I will have a set of players which have positions on the board.
Import usePresence into our game:
import { usePresence } from "@roomservice/react";And we need a model for our players, that we can code in typescript as:
export type Player = {
  x: string;
  y: string;
};
Next, we can combine the type with the hook to get a collection of players and an action we can dispatch on our local client to set the position of our own player:
const [players, setMyPlayer] = usePresence<Player>("demo", "players");Ok, we have everything we need to track our player in Room Service, so finally, we need to control when we send information to room service to update the player location. To do this I will implement a useEffect hook, which will track mutations to the top and, left pieces of our state. That way, when we move locally, we will send an event to Room Service, and Room Service will send that down to everyone else that is in the game with us!
useEffect(() => {
  if (!players) return;

  // Only store relative positions so they
  // can be translated out into the height
  // of the players board
  const x = left / board.current.clientWidth;
  const y = top / board.current.clientHeight;

  setMyPlayer.set({
    x: x.toString(),
    y: y.toString(),
  });
}, [left, top]);
So far so good, we can look at the network tab of our local device and see what is currently happening. It could be a good idea for now to add a console log to the players object, so we can track if everything is connected correctly, and see what happens when we use multiple local devices to connect to the game.
{
  "some-user-161254333": { "x": "0.95725", "y": "0.251486" },
  "some-user-17003492921": { "x": "0", "y": "0" }
}
That looks good, we have an object full of players that we can render on the page.
So we can do that using react like below:
{
Object.entries(players).map(([key, val]) => {
const style = {
top: parseFloat(val.y) * board.current.clientWidth,
left: parseFloat(val.x) * board.current.clientHeight,
};
return (
<div
key={key}
className={styles.otherPlayer}
// Translate the height back into absolute
style={style}
>
</div>
);
});
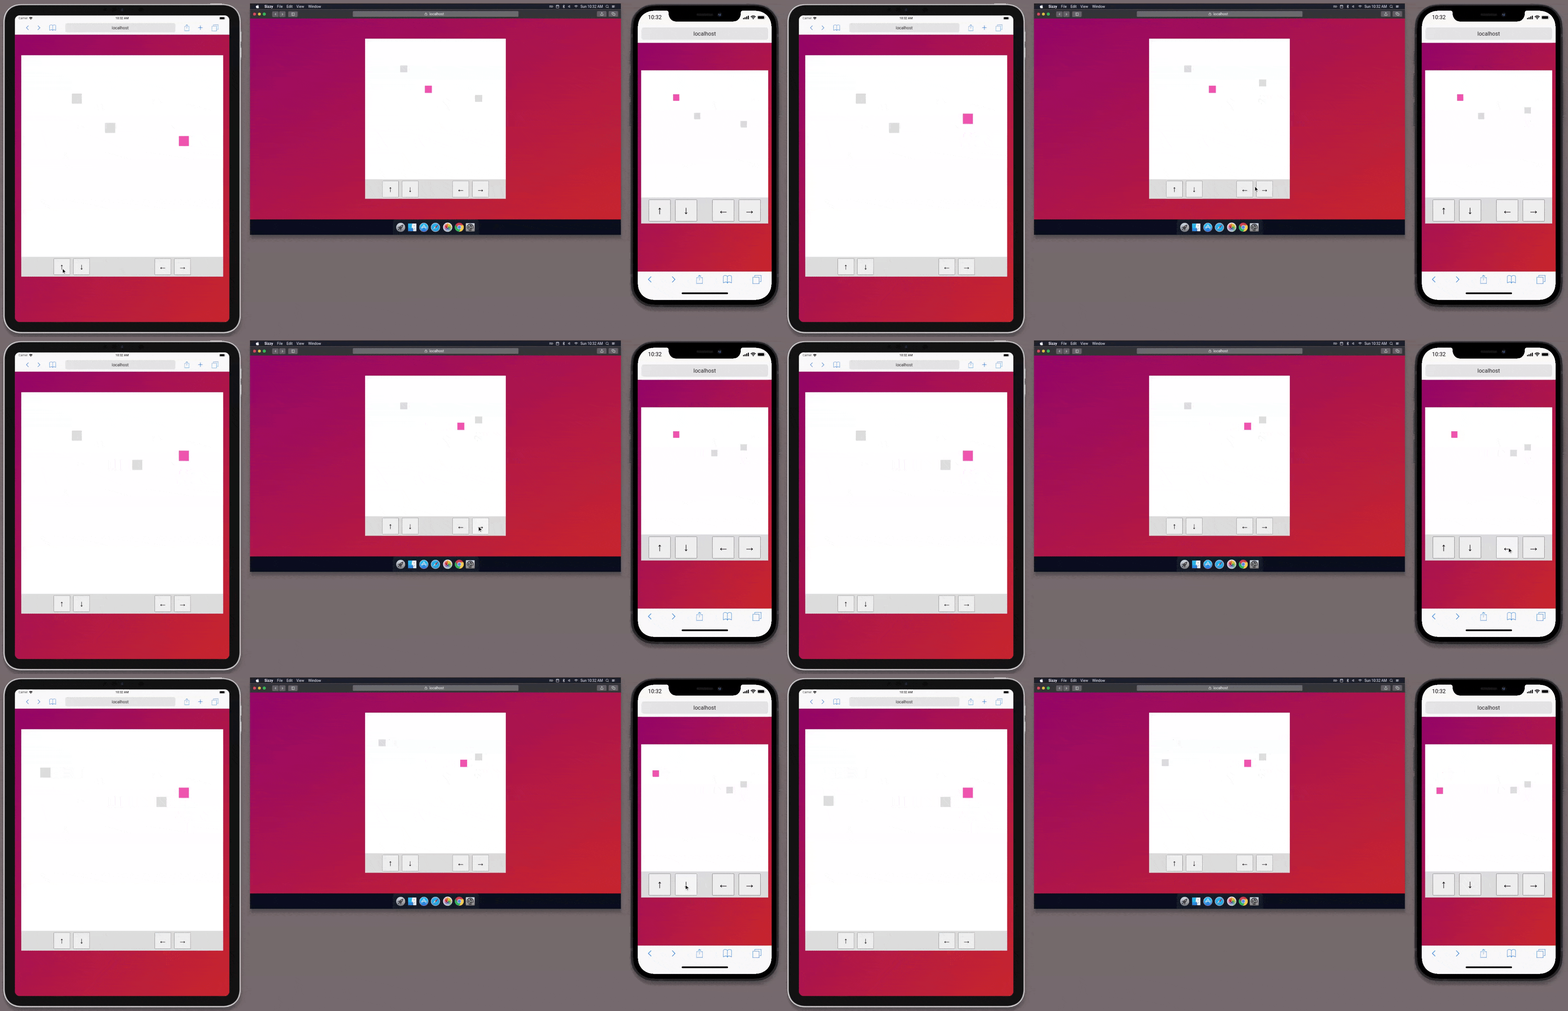
}That is everything that we need to ensure we can track the players across the multiple devices are get position updates in realtime. Lets take a look:

Deploying the Changes 
To deploy the changes to Vercel we will need to:
- Set an environment variable of
ROOM_SERVICE_API_KEYin vercel - Commit the code
- Push the code to GitHub
And that is it, we have a live game, that has multiplayer's.
Adding an Objective 
So to make the game competitive I am going to add a scoring mechanism.
To do this I will be adding a single coin to the game board. The players will need to seek out the coin, and when they collect the coin they will receive 10 points!
Roomservice enables us to set persisted items inside the current room by using the Map.
Room Service Maps are simple key-value stores with last-writer-wins resolution.
So to use the map in react we can add a hook to our index component:
const [coin, map] = useMap("demo", "coin");Here 'demo' is the room name, and the key is 'coin'.
The coin is global to everybody in the room, therefore it will need to appear in the same location for everyone that is playing the game.
Scoring Points 
The player scores a point if they reach and touch the coin. SO we need to detect if the div that represents the player is overlapping on the another div which will represent the coin:
useEffect(() => {
  if (!coin?.position) return;

  const interval = setInterval(() => {
    const overlap = isOverlapping(coinElement.current, player.current);

    if (overlap) {
      const x = Math.random();
      const y = Math.random();

      map?.set("position", { x, y });

      setScore((val) => val + 10);
    }
  }, 20);

  return () => clearInterval(interval);
}, [map]);
So this useEffect will ensure that every 20ms we check for an overlap between the ref to the current player and a ref to the coinElement. If the two are overlapping we will increment our local player score and set a new position for the coin.
So we will render the coin into the game board aswell so that it appears on all devices in the same relative position:
{
coin && board.current && (
const style = {
left: parseFloat(coin?.position?.x) * board.current.clientWidth || 0,
top: parseFloat(coin?.position?.y) * board.current.clientHeight || 0,
};
<div
ref={coinElement}
className={styles.coin}
style={style}
>
</div>
);
}Having setup the coin, and given our players the ability to have a score I think we need a leader board so we know who is in the lead.
Adding a scoreboard 
A scoreboard will need to display on the mobile, tablet and desktop version of the game.
The react component for the scoreboard looks like:
import { Player } from '../pages'
import styles from './ScoreBoard.module.css'

export const ScoreBoard = ({
  players
}: {
  players: { [key: string]: Player }
}) => (
  <div className={styles.scoreBoard}>
    {
      Object.entries(players)
        .map(([key, player]) => (
          <div
            className={styles.scoreCard}
            key={key}
          >
            {player.name}: {player.score}
          </div>
        )
    }
  </div>
)
The styles for the scoreboard ensure that when we are in desktop mode the board will appear as a distinct div mounted on the left of the game board with a margin between them. Then, on mobile, the scoreboard will appear above the game board.
.scoreBoard {
  display: flex;
  flex-direction: column;
  background-color: gainsboro;
  padding: 10px;
  height: 100%;
  height: 95vw;
  max-height: 70vh;
  margin-right: 2rem;

  border-radius: 1rem;
}

.scoreCard {
  margin: 0.5rem;
}

@media (max-width: 1020px) {
  .scoreBoard {
    flex-direction: row;
    flex-wrap: wrap;
    width: 95vw;
    max-width: 70vh;
    height: 100%;

    margin: 0;

    border-radius: 1rem 1rem 0 0;
  }
}
Who are these players 
The final piece of the puzzle is to ensure that the players get a name. This will become something that we can store across session, but for now we have no authentication mechanism.
The name of the player will be set from a text input, with a maximum length of 16:
const [name, setName] = useState<string>('anon')

...

<input
  className={styles.userName}
  onChange={(e) => {
    setName(e.target.value || 'anon')
  }}
  placeholder="Your name max (16)"
  type="text"
  name="username"
  maxLength={16}
  aria-label="Username"
  autoComplete="off"
/>
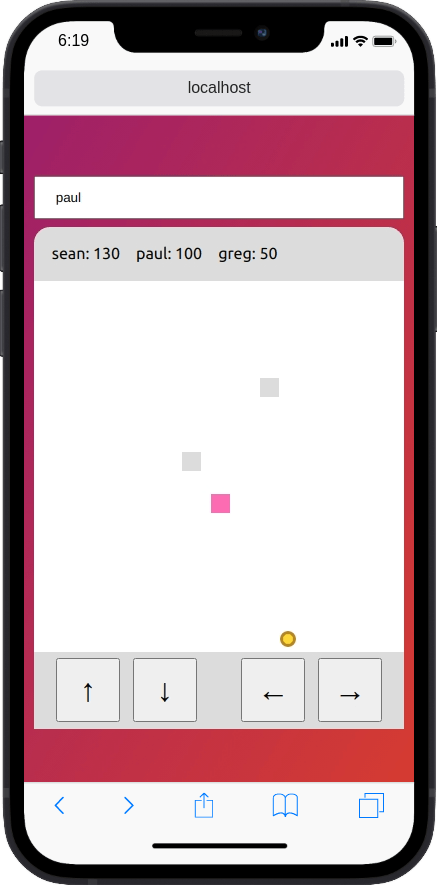
This mean we have players with names in our scoreboard like below:

Now we can extend the existing position use effect hook, to also send update when the name is changed:
useEffect(() => {
  if (typeof window !== "undefined") {
    if (!players || !board) return;

    // Only store relative positions so they can be
    // translated out into the height of the players
    // board
    const x = left / board.current.clientWidth;
    const y = top / board.current.clientHeight;

    setMyPlayer.set({
      x: x.toString(),
      y: y.toString(),
      name: name,
      score: score,
    });
  }
}, [left, top, name]);
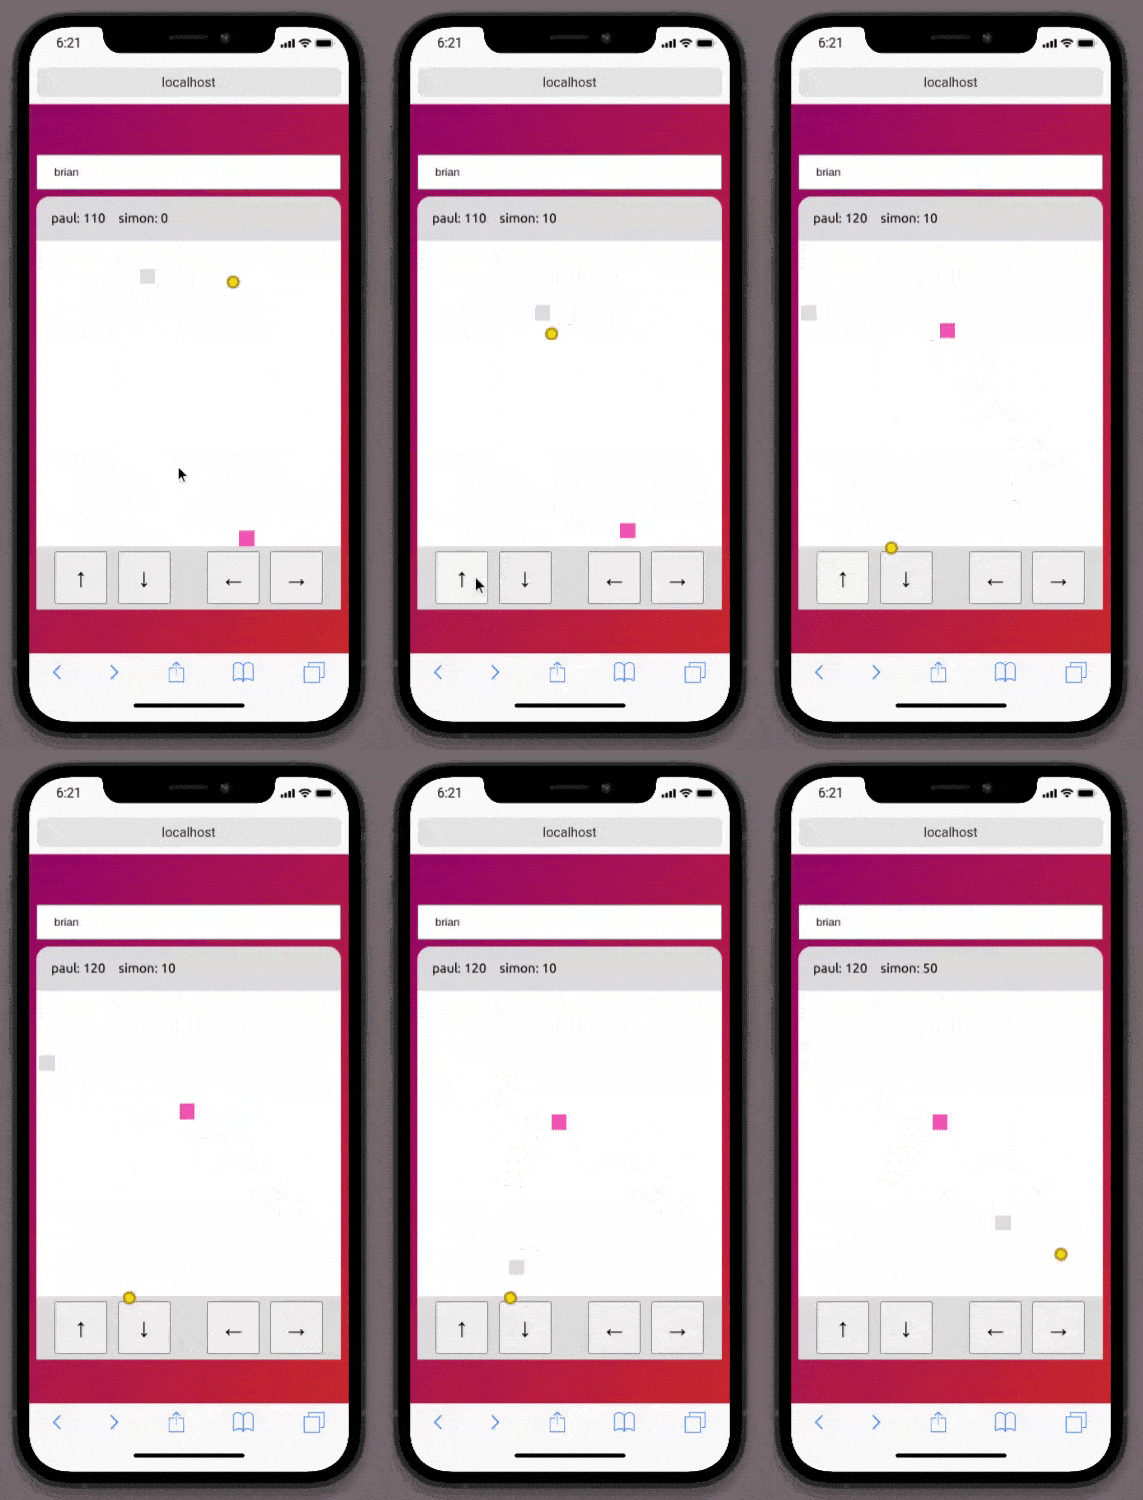
Now we can try out our PvP game:

Wrap Up 
That is all for Part 2, I think its a good time to take a break from the application.
If you need the full source code for the application it is here:
In the next Part we will add authentication using NextAuth.js.